Encoder Settings in Detail - 3.4.0.3
- Ayça Vural (Unlicensed)
- Berna Radoncic
Owned by Ayça Vural (Unlicensed)
Encoder
Encoder is the software recorder that acts like a physical recorder which can record in multi format at the same time by the help of defined profiles. Only one physical source (one video source and one audio source) can be defined for an encoder.
Encoder By Quick Steps
- Click "Add Encoder" from the Project menu or click “+ Add Encoder” button on toolbar.
- Click “+ Video” button from the Add Encoder window to add a video source. On the opening Select Source window there will be a list of capture devices on your screen. Select the source you want to add and click OK. You can use only one video source for each encoder.
- Click “+ Audio” button from the Add Encoder window to add an audio source.
- Select the source you want to add and click OK. You can use only one audio source for each encoder.
- You can type an encoder name into Name textbox from Edit Sources window.
- You can change audio or video source parameters in Source Parameters panel.
- Click OK to close the Add Encoder window.
You can edit source for an encoder anytime by clicking Sources button on toolbar / right click on encoder in encoders list / right click on preview window and click the Edit Source menu.
- While capturing, you cannot edit sources.
Add Encoder
There are several ways to add an encoder.
Adding from toolbar :

 This button is the easiest way to add a new encoder.
Adding from Project Menu :
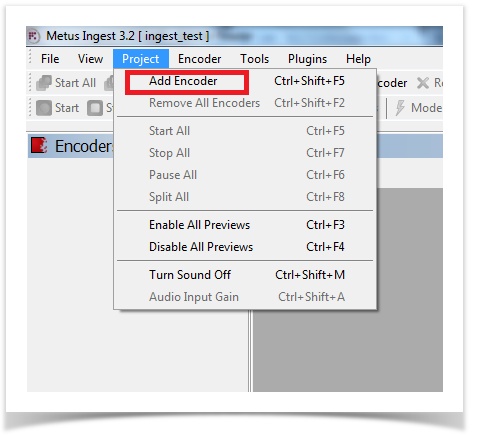
From the Project Menu , "Add Encoder" can be used too.
Adding by using hotkey :
Another way to add encoder is using hotkey CTRL+SHIFT+F5.
Note
Multiple encoders can be added in each project.

