Preview - 4.0.1.3
Preview is the window that video from the source can be viewed. You can view any source in the Preview Screen.
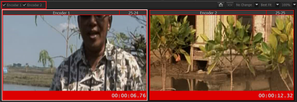
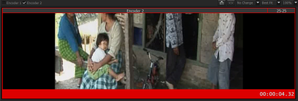
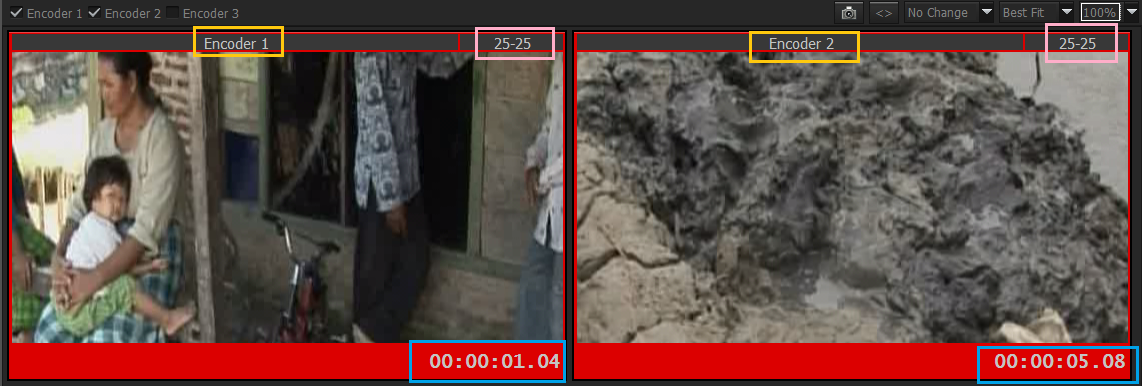
- If you have more than one encoder , you will see that separate sections appears on the preview window for each encoder as it seen below. You must check the Encoder(s) which you want to enable preview. After checking encoder(s) , selected encoder(s) appear(s) on the preview screen , unchecked encoder(s) do not display on the preview screen.
 This button is used to take snapshot from current encoder at the time of encoding. Please see Snapshot - 3.2.0.0 to have detailed information about snapshot.
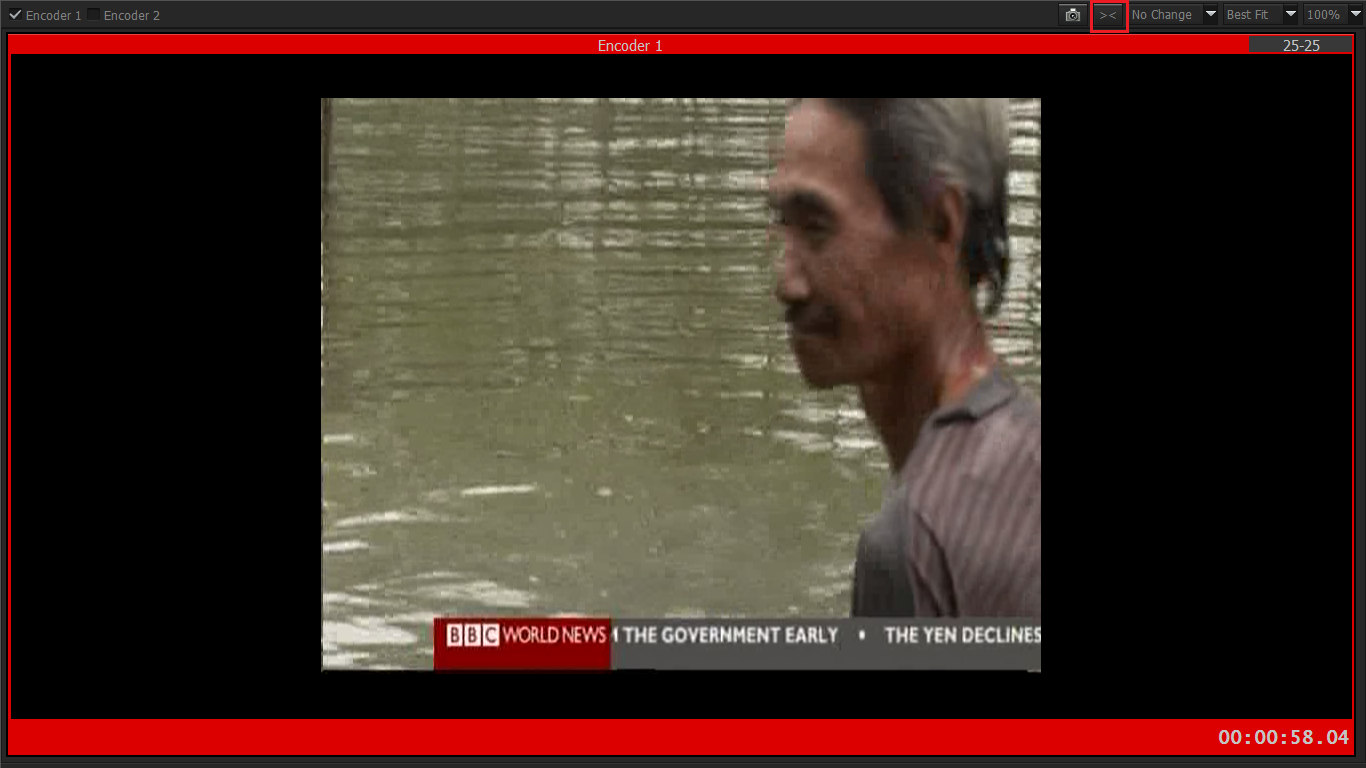
 This button sets preview screen to Full screen mode. You can see below.
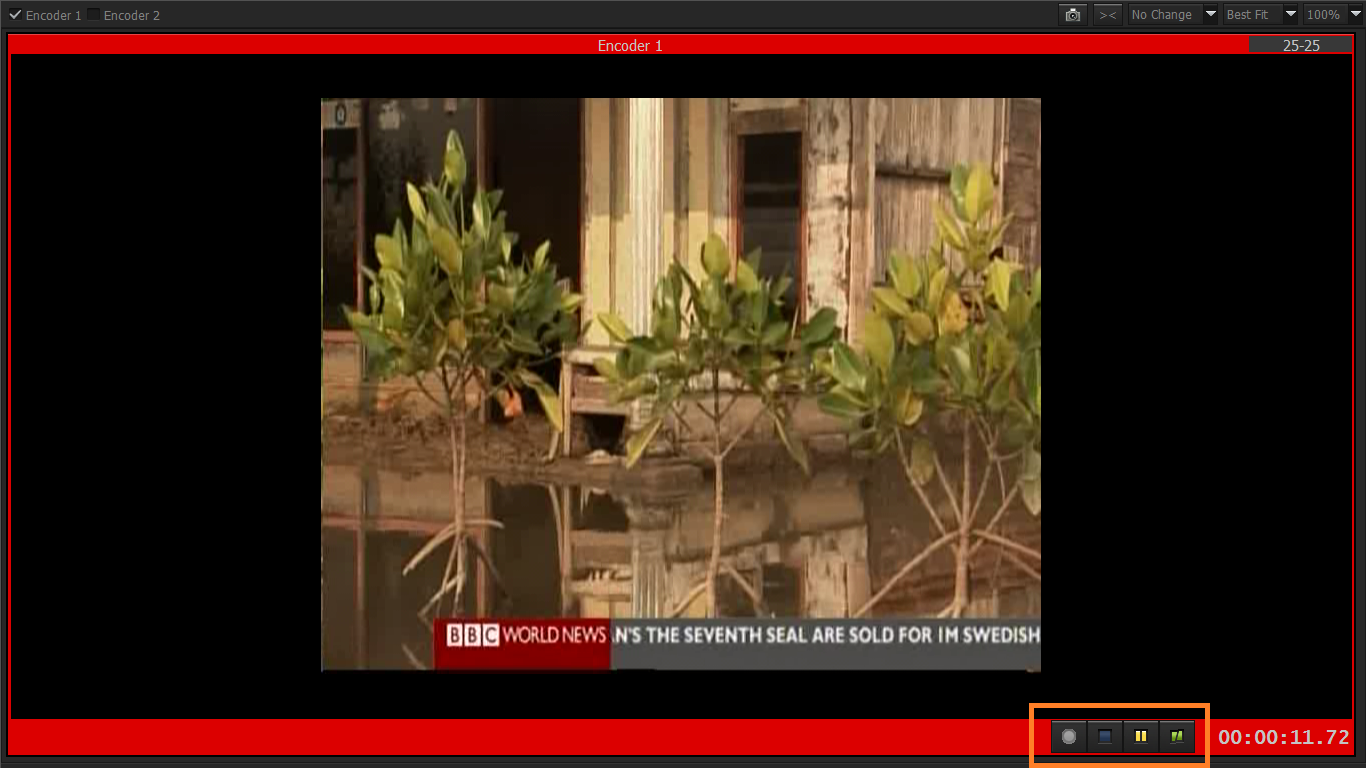
If you adjust Preview in full screen mode appearing like below :
Tools > Options > General > View > Check " Show action buttons in full screen mode ( Start , Stop , Pause , Split) "
If you want to exit from full screen mode , you must click button (which appears on the preview screen after you chose Fullscreen mode) or click "Esc" button from the keyboard.
- You can adjust preview aspect ratio from the preview screen as it seen below. There are four options for this as “No change”, 1:1, 5:4 and 16:9. “No change” means; show preview screen as default which depends on capture card's settings. Other options will adjust the preview screen according to chosen ratio. These changes do not affect recordings, they are only for previewing.

- The Preview Screen can be set as four different formats. These are free, v. tile, h. tile and best fit.
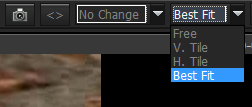
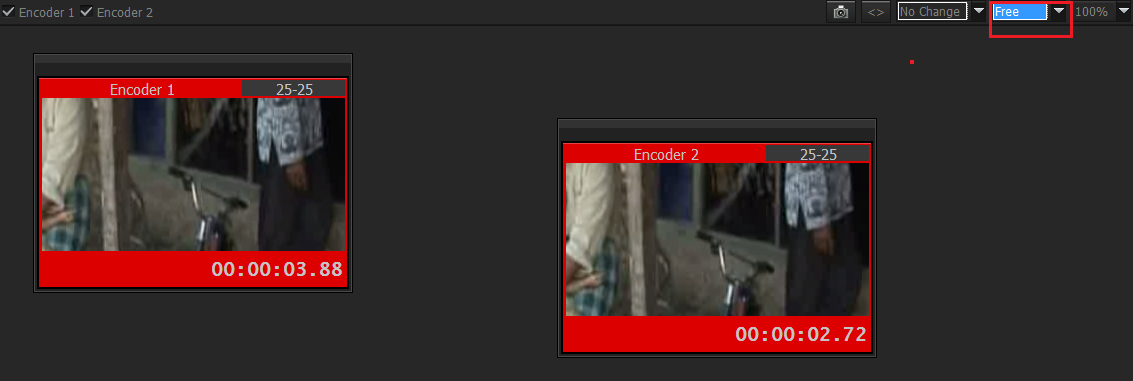
Free: In free mode you can replace the preview screens and adjust their size free.
Vertical Tile: The preview screens will be located vertically in Vertical Tile mode.

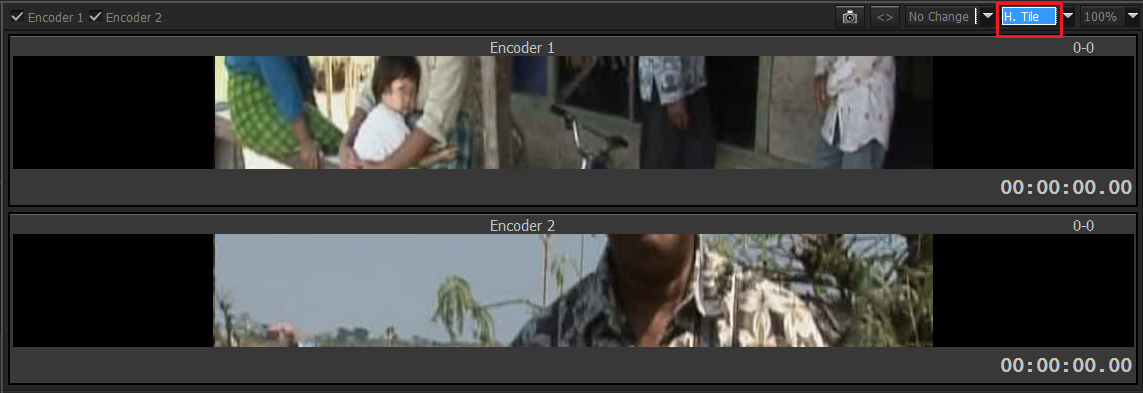
Horizontal Tile: The preview screens will be located horizontally in Horizontal Tile mode.
Best Fit: The Preview screens will be located in the Best fitting location.

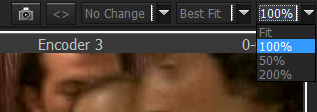
- You can adjust preview screen size too. Preview screen size options are 50%, 100%, 200% and Fit size. Fit means size is adjusted smoothly by ingest.
- In preview screen, there are some values over each encoder. At every encoder’s top, encoder name is shown. At top right side, buffer bar is shown and it indicates the latency of ingest while encoding. If it gets higher than 100, the bar turns to yellow which means this situation is critical and encoding should be stopped. At the left side, Vumeter is show. At bottom right side, duration of current file is seen.
- Bottom bar:
While not encoding, this bar is gray and duration shows 00:00:00:00 .
While encoding, this bar turns to red and duration time keeps increasing until encoding stops or pauses.
When encoding paused, bar turns to yellow and duration stops increasing and waits.
If you split while encoding, encoding stops and INGEST starts to record over a new file. that’s why duration resets and bar color which is red does not change.

