Print to Tape - The Latest
- Ugur Kavalci (Unlicensed)
- Fatih Ilter (Unlicensed)
- Berna Radoncic
One of the handy features of Metus INGEST is Print to Tape. You can use Metus INGEST to print media to VTR. (INGEST only supports Blackmagic Decklink boards for tape printing as of now)
1 Make Correct Connections
The connection must be established between 'video/audio in' of the VTR and 'video/audio out' of Decklink. VTR must be connected to your INGEST workstation through Blackmagic Declink board RS422 Serial Port.
See Tape Record tab to check if INGEST sees the VTR. You can see an example for no connection below.
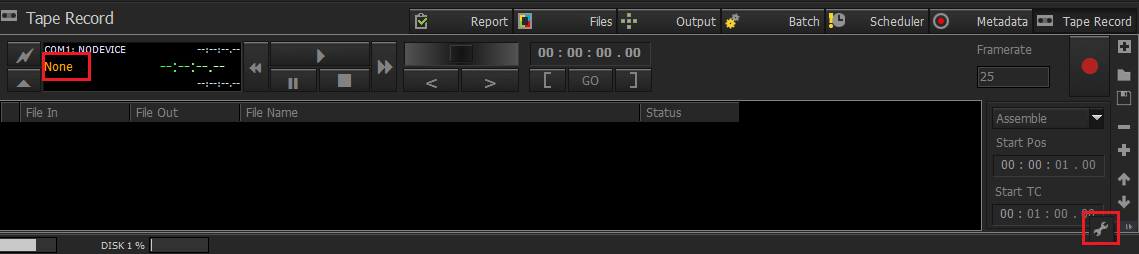
Check ' Windows Device Manager\Ports ' to see which COM port your Decklink board is connected, then click 'Settings' at right down corner of Tape Record tab.
Choose correct Port (in this case, COM3) and click OK. You will see the name of the VTR (in this case, 3918) appears on the Tape Record display.

2 Add an Encoder
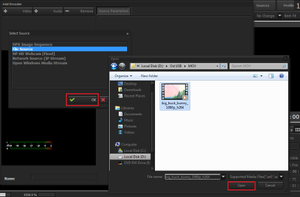
Add File Source as Video Source and select a file as shown on the figure below. The user can choose any media file just to create the file source as an encoder, means selected file does not have to be the file to be printed to VTR. Simply do the same to add File Source as Audio Source.
3 Define Decklink as the printer.
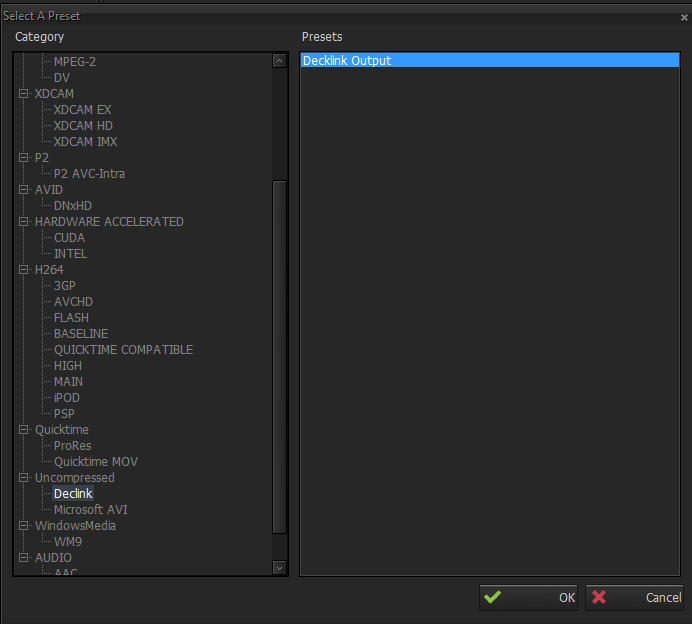
Select Decklink - Decklink Output from Profiles presets and click 'OK'.
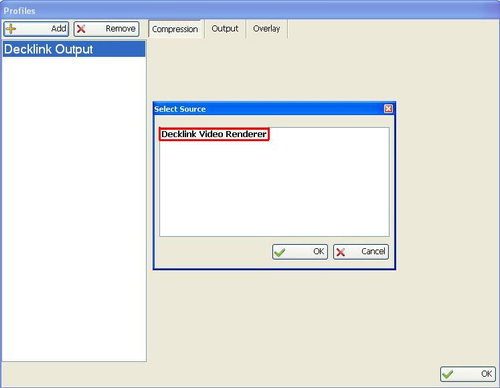
Note that, more than one Decklink board may be connected to INGEST workstation; in that case the user will select the related Decklink Video Renderer from Select Source window as shown on the figure below. If more than one Decklink cards are connected to PC, then the renderers will be listed as Decklink Video Renderer, Decklink Video Renderer (2) and so on.
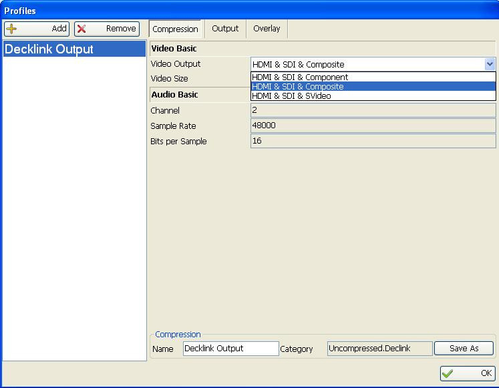
Finally, you must select the related Video Output from the Output tab as shown on the figure below.
3 Set Your Playlist
You can set a playlist as you can print multiple media files (files on the list can also be located on the network) to VTR.
To add media to be printed to VTR, you can click to '+' button and select the media file as shown on the figure below. See the path of the file appears in Tape Record tab after adding.


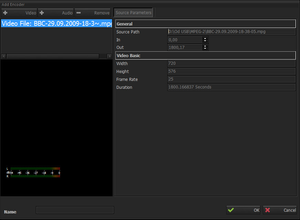
Then, you can set the duration of the record by adjusting File In and File Out parameters. On the figure shown below, the user will print only the first 5 minutes of the media file to VTR and printing will start with the Start Position set to 1 min.

On the figure shown below, the user sets 5 mins. to Start TC , which is the timecode counter start point for the first frame of the video source. The duration of the video source is 4 mins.

4 Final Settings
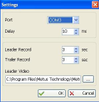
Click 'Settings' at the right down corner.

Delay: COM port delay in msec.
Leader Video: The black video between records.
Leader Record: The duration of the leader video before the record starts.
Trailer Record: The duration of the leader video after the record ends.
5 Ready to Go
To start printing to VTR, just click the big black button, the VTR head turns to Start Position (Note that Status changes to Positioning), then starts recording.

During printing, Status changes from Positioning to Recording.

Status changes from Recording to Completed at the end of printing.


